
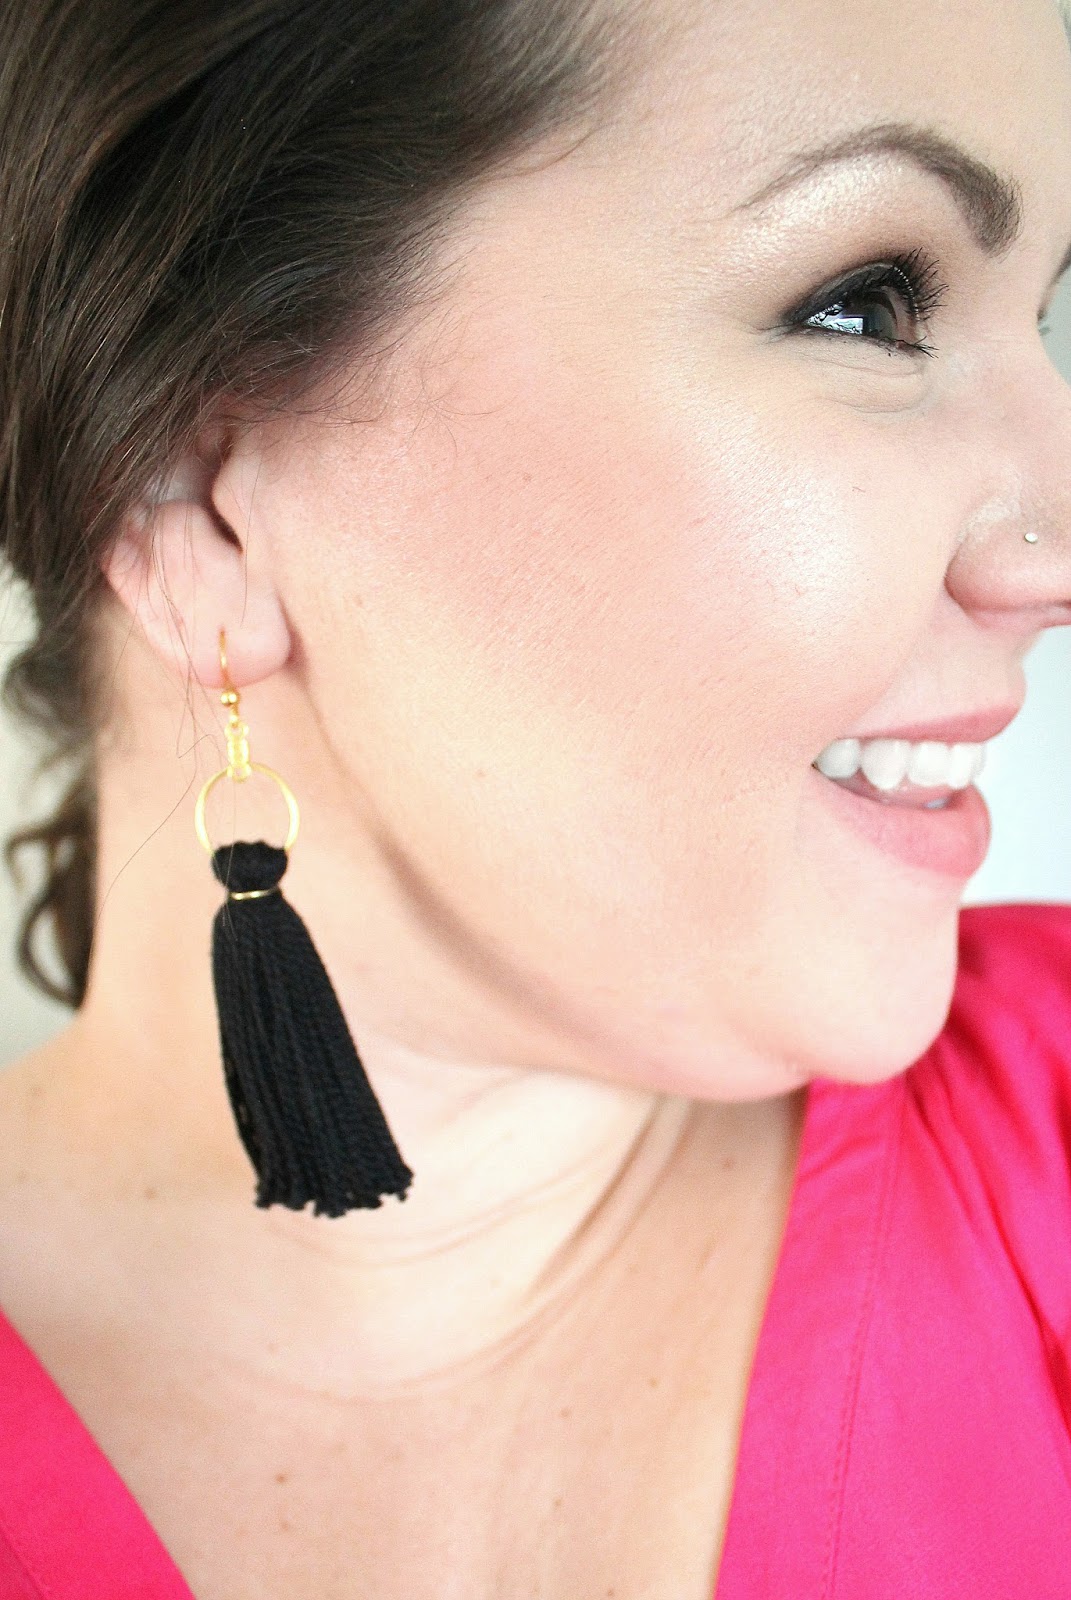
Tassel Trend: Easy DIY Tassel Earrings!

Tassel accessories are pretty clearly one of the biggest trends of 2017. They're everywhere! You can find them on jewelry, scarves, bags, clothing... And from brands as generic as Target to as luxury as Tory Burch! You can see some of my favorite examples here:
**This post contains affiliate links, meaning I may get a very small commission when you click on or make a purchase from one of these links, at no extra cost to you.**
They're colorful, they're whimsical, they're easy to dress up or down. It's easy to see why they're so fun! And turns out, they're also super easy and cheap to recreate yourself!
I've been wanting a pair of tassel earrings, but I had a hard time finding just want I want. Of course, that presented the perfect opportunity for a good DIY!

Materials Needed:
2 skeins of embroidery floss (same color)
2 earring hooks
2 small beading hoops (I used 20mm)
*I got this pack of earring findings from Michael's that had specific hooks and hoops I used
2 jump rings (mine were about 7mm, but it depends on the thickness of your embroidery floss! I'd suggest getting a pack with assorted sizes!)
Scissors
Glue gun
Needle nose pliers
Most these supplies come in big packs if you get them online. You may be able to find smaller packs of jump rings and embroidery floss at your local craft store. Or you can stock up and go crazy making tassel earrings in every color of the rainbow for everyone you know! The price per pair is only about $0.75 each!
Let's get started! This will be quick and painless, I promise :)

1. Cut off about a 6-inch section of thread, while keeping the rest of the skein intact. Don't get it all bunched up! Set that 6-inch piece to the side. Take the skein and place it through the hoop.

2. Fold the skein in half, making the ends even. Tightly tie the short piece of thread around the tassel close to the hoop. I usually tie a knot, wrap the end of the thread around the tassel 2-3 times, and then double knot it again. Try to get it as tight as possible so your earring wont fall apart as you wear it!

3. Open up the jump ring with the pliers. Wiggle it around the tassel over the thread tied around it. You want the ring to fit snugly!

4. Once you wrangle the ring around the tassel, use the pliers to squeeze it shut. I wanted my earring to seem wider, so I used the pliers to flatten the jump ring and make it more of an oval shape.
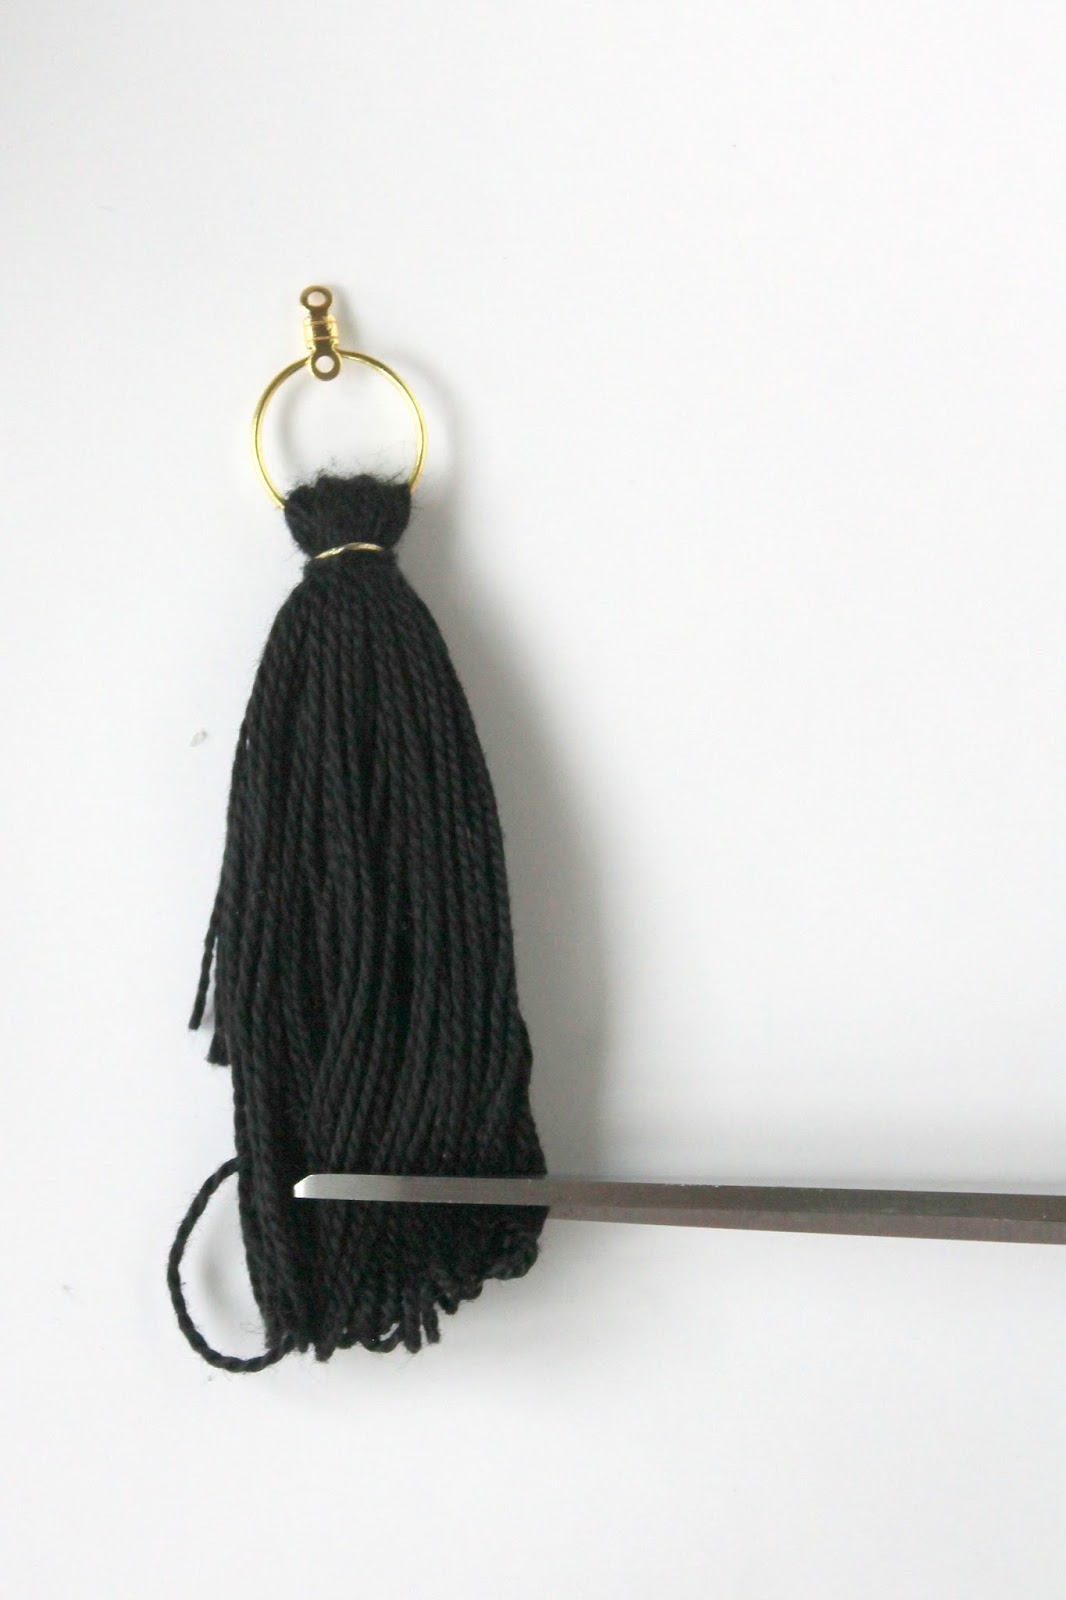
5. Snip off the ends of the tassel. You can make it as long or short as you want! I ended up cutting off about an inch from the bottom because I didn't want them brushing my shoulders. I found that if you use one hand to hold the threads together down near the bottom while cutting with the other hand will help the ends be more even than if you hold it from the top near the loop.

6. Connect the hook to the hoop (if your hoop doesn't have a connection like mine, you can use a small jump ring to secure the earring hook to the hoop).

7. Repeat steps 1-6 to make your matching pair, and then you're good to go!

HOW FUN! I am crazy about how these turned out! I've been wearing them almost every day since I made them!
They took me well less than half an hour to make and are so easy! You can get so much variety by switching up the colors, length, thickness, etc. And since they're so cheap, you have no excuse but to make some to go with every outfit ;)

Are you as crazy about this tassel trend as I am? What's your favorite way to incorporate them in your wardrobe? Let me know in the comments!


2 comments
I never thought about tassel earrings. These would be perfect for a graduation or graduation party!
ReplyDeleteSo cute! I have a lot of embroidery floss in different colors and this would be such an easy and fun project!
ReplyDelete